


How To Make A Percolator Coffee?
A coffee percolator brews by repeatedly moving heated water upward through a central tube and over a basket of ground coffee.
The method can produce a full-bodied drink, but excessive heat or an overly long brewing time may create harsh or bitter flavors. Good results depend on a coarse grind, measured water, controlled heat, and stopping the cycle at the right time.
Understand the Percolator Parts
A typical stovetop percolator contains:
A lower water chamber
A vertical pump tube
A perforated coffee basket
A basket cover
A lid with a viewing knob
Confirm that every part is clean and correctly seated before brewing.
Choose the Coffee and Water
Use fresh water and coarsely ground coffee. Fine grounds may pass through the basket holes and create sediment in the finished drink.
A starting point is approximately 55 to 60 grams of coffee per liter of water. Adjust the amount according to the percolator capacity and preferred strength.
Do Not Overfill the Water Chamber
Fill the pot only to its marked capacity. The water level should remain below the bottom of the coffee basket.
Overfilling can interfere with circulation and may cause grounds to enter the brewed coffee.
Assemble the Percolator
Place the pump tube into the bottom chamber, then fit the basket over the tube.
Add the measured coarse coffee grounds and level them gently. Do not press or tamp the grounds.
Attach the basket cover and close the percolator lid securely.
Heat the Percolator Gradually
Place the percolator over low to medium heat.
When the water becomes hot, it rises through the central tube and falls over the grounds. The viewing knob allows the user to observe the liquid as it begins to “perk.”
Reduce the Heat After Perking Begins
The coffee should circulate steadily rather than boil aggressively.
Strong boiling can over-extract the grounds and create a burnt taste. Reduce the heat so the liquid rises at a controlled rate.
Control the Brewing Time
A stovetop percolator may need approximately seven to ten minutes after steady perking begins, depending on the pot size and preferred strength.
Remove the pot from the heat when the coffee reaches the desired color. Allow it to rest briefly so loose particles settle.
Remove the Basket Before Serving
Carefully remove the basket and pump tube if the product instructions recommend doing so.
Leaving the coffee in contact with hot grounds can continue extraction and make the drink increasingly bitter.
Clean the Percolator After Use
Discard the grounds after the equipment cools.
Wash the basket, tube, lid, and pot with warm water and mild detergent. Clear all perforations so water can circulate properly during the next brew.
Dry the metal components thoroughly before reassembly and storage.
Percolator vs Coffee Kettle
A percolator circulates water through coffee grounds, while a kettle is used to heat and pour water.
A Stainless Steel Coffee Kettle is more suitable for pour-over coffee, tea, French Press preparation, and general hot-water service. It does not replace the brewing basket and circulation system of a percolator.
Retailers often combine kettles, French presses, Milk Pitchers, bean canisters, and related items to create a coordinated coffee-accessory collection.
Our Coffee Equipment Supply
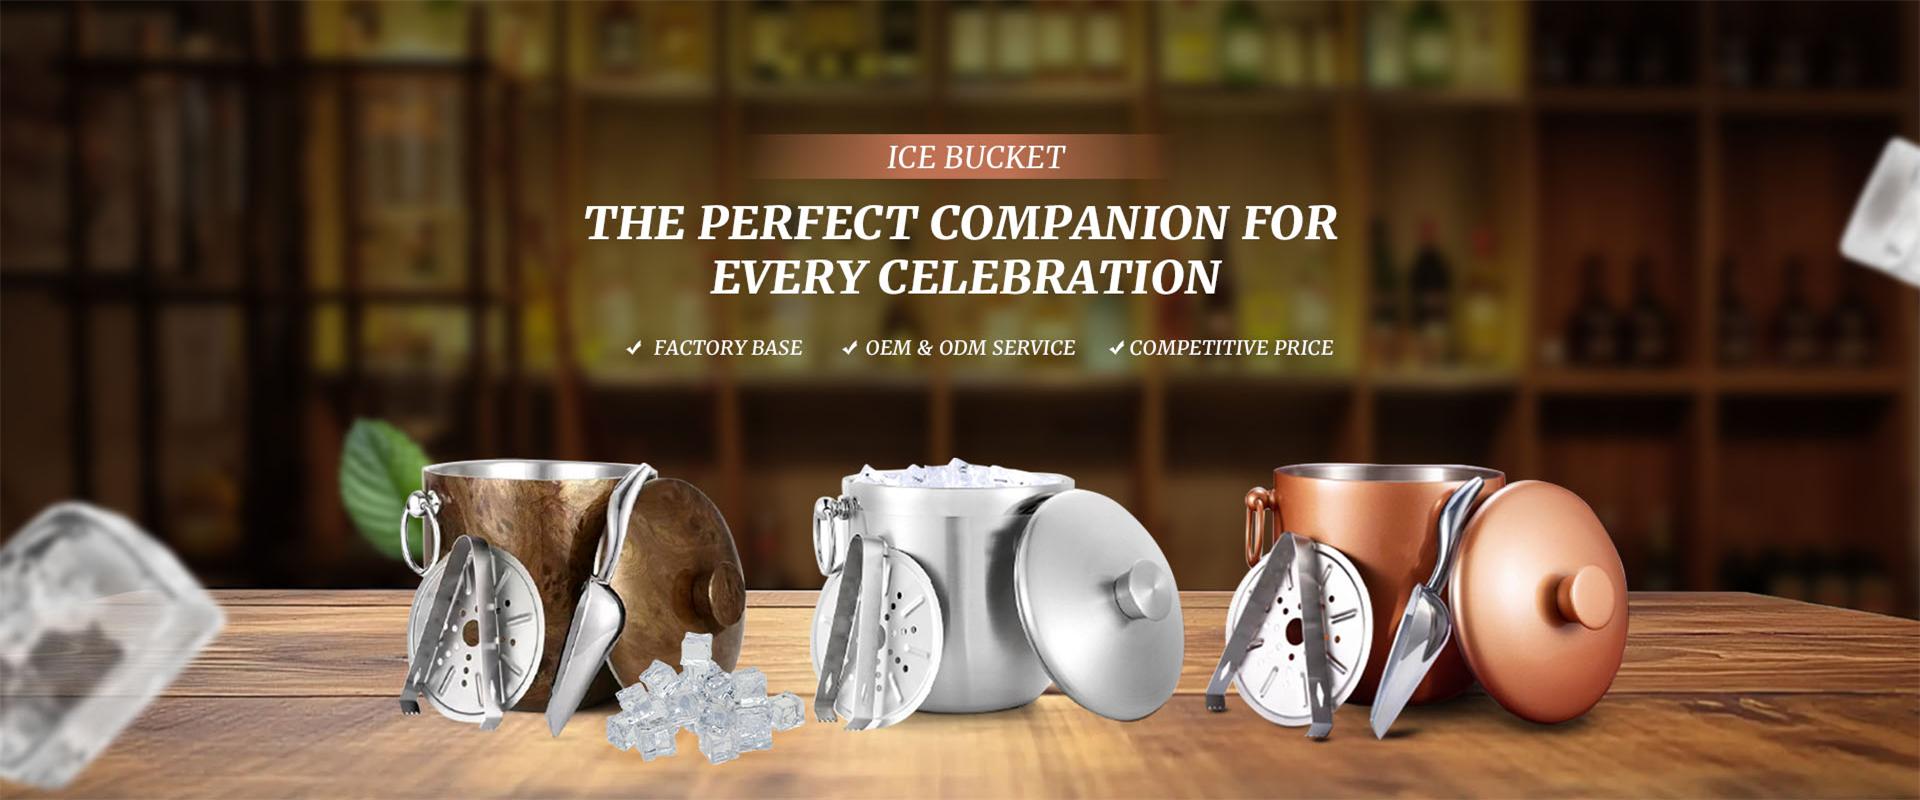
Our household product range covers coffee kettles, French presses, milk pitchers, coffee bean containers, Ice Buckets, and additional kitchen tools.
We support product customization involving capacity, stainless steel grade, handle structure, lid design, pouring spout, finish, color, logo, and packaging.
Build a Coffee-Service Collection
Developing coffee accessories for retailers, cafés, hotel rooms, gift sets, or online brands?
Send us your target product types, required capacities, finishes, logo method, packaging format, and purchasing volume. We will prepare a coordinated Stainless Steel Coffee Kettle and coffee-accessory proposal.
Previous: